Back to Maintenance Manager Main Menu
There are three different user roles available in Maintenance Manager; Administrator, Technician, and Requester. The User section displays a list of all users that have been added to Maintenance Manager.
Adding a New User
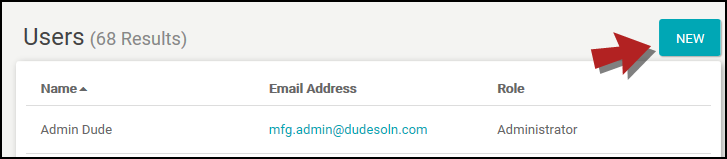
- To add a new user, click on the Admin tab and select Users.
- Click on the New button.
- First Name, Last Name, and Email Address are required fields.
- You will need to choose the Role of this user. By default, Technician is selected. There are 3 user roles to select from:
- Administrators have access to everything in Maintenance Manager. They have the ability to enter and edit Work Orders, Locations/Equipment, and Schedules. When filling out a work order, Administrators are also able to add new Suppliers and Manufacturers if they are not currently listed. With full access to the Admin tab, Administrators can add Types, Projects, Purposes, Users, Trades, and Task Books.
- Technicians have limited capabilities in Maintenance Manager. They have the ability to enter and edit Work Orders and Locations/Equipment. When filling out a work order, Technicians are able to assign work to other users, as well as add new Suppliers and Manufacturers if they are not currently listed. The Technician's home page will be a list of work orders assigned to them, however they are able to view and search for any work order in the system.
- Requesters in Maintenance Manager are only able to enter new requests. They can only view work orders that they have submitted, but do not have access to the full work order form.
- You can also enter an Hourly Labor Rate and Phone Numbers for this user.
- To add an additional phone number, click on the plus sign button.
- Click Save.

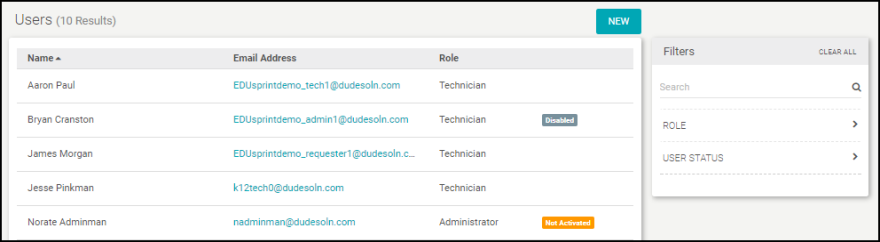
Users List
- You are able to filter the Users list by user Role and Status. You can also search for a particular user by typing in their name in the Filters section.
- When looking at your list of users, you may notice that some users have an orange Not Activated icon beside their name. When a user is entered into the system, they will receive an email containing a link they need to click to activate their account. If the user has not yet clicked this link, the orange Not Activate icon will appear beside their name.
- If a user says they have not received the activation link, you are able to resend it:
- Click on the name of the user with Not Activated beside their name.
- At the bottom of the user form, click on the Resend Activation Link beside the Save button.
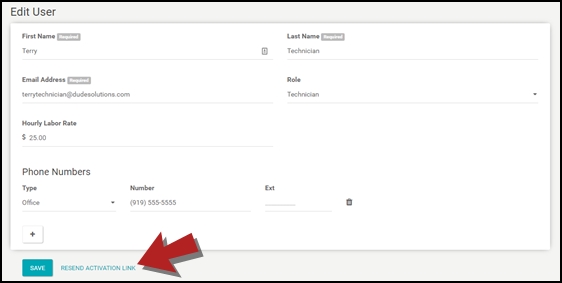
- Once you click this, you will see a green message showing the activation was sent successfully.

